I'm sharing a fun technique for Paper Wings Productions today. Creating faux paper castings using facial tissue and rubber stamps is an inexpensive alternative to true paper casting, which can take days of work and also be quite costly. With a few simple steps you can create beautiful lightweight embellishments for your craft projects!
Supplies:
* Facial Tissues, Toilet Tissue, Tissue Paper, Napkins or Paper Towel
* Paintbrush
* Rubber Stamp
* Spray Bottle of Water
* Ink
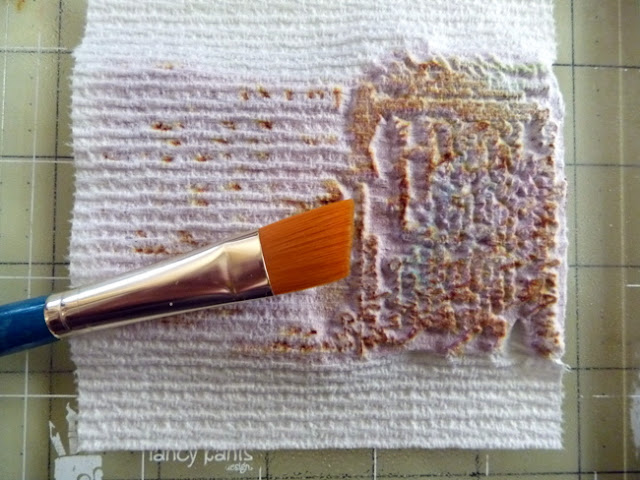
Step One: Place your stamp rubber side up on your work surface and apply ink to the stamp face. Cover the stamp with a sheet of tissue, mist lightly with water, and use a paintbrush to press the tissue down into all the areas of the stamp using an up and down motion. Note: If you choose to use facial tissue, make sure that the tissue does not contain lotion or aloe, as the layers will not hold together and you may not yield a complete image.
Step Two: Continue building layers by adding more tissue, misting with water and tapping down the tissue with the paintbrush. Four to six layers of tissue should give your paper casting enough strength.
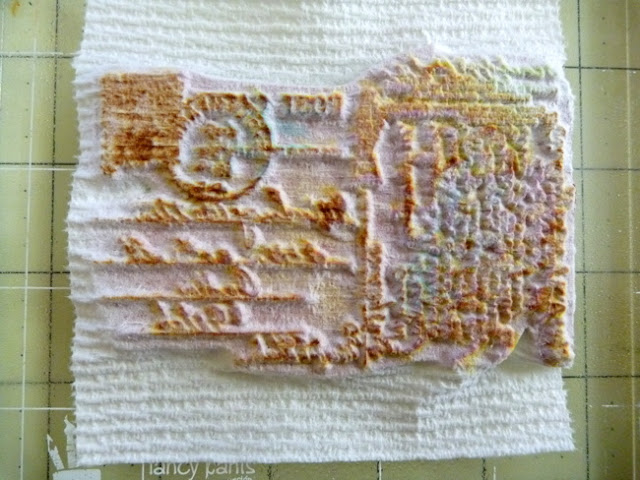
Step Three: Carefully lift the tissue from the stamp and set aside to dry.
Step Four: Cut or tear the excess tissue from the design. Color as desired.
Step Five: Add your paper embellishment to your project.
I used the Background Writings Cling Stamp Set to make the postcard paper piece and the Holiday Mix It Up Clear Stamp Set for the sentiment.
Thanks so much for stopping by! I hope I have inspired you today! If you're interested in purchasing some of these fabulous stamps, visit the Paper Wings Productions Store to browse the full collection of stamps and kits.
Supplies: Patterned Paper: Prima, The ScrapCake; Flower: Green Tara; Leaves: D-Lish Scraps; Heart: Tim Holtz; Lace: Webster's Pages; Stamps: Paper Wings Productions; Ink: Ranger; Other: Twine
Pin It!


Ooooh - that's cool. I might try that one. Thank you for the TuT.
ReplyDeleteA beautiful creation - I LUV it :-D xx
What a super cool idea!! I just might have to give this a try today!! Thanks!
ReplyDeleteOh my goodness this is amazing! I love your card and your tutorial. I've never seen anything like it and am going to have to give it a try! Thanks so much for sharing it!
ReplyDeleteThis is gorgeous! I loveeeeeeeeee the textures and the twine!!
ReplyDeleteI found this totaly fascinating Dana, how cool does the paper look!! Ohhh this is on my list of 'things to do', thank you for sharing....
ReplyDeleteFabulous technique...beautiful card!
ReplyDelete