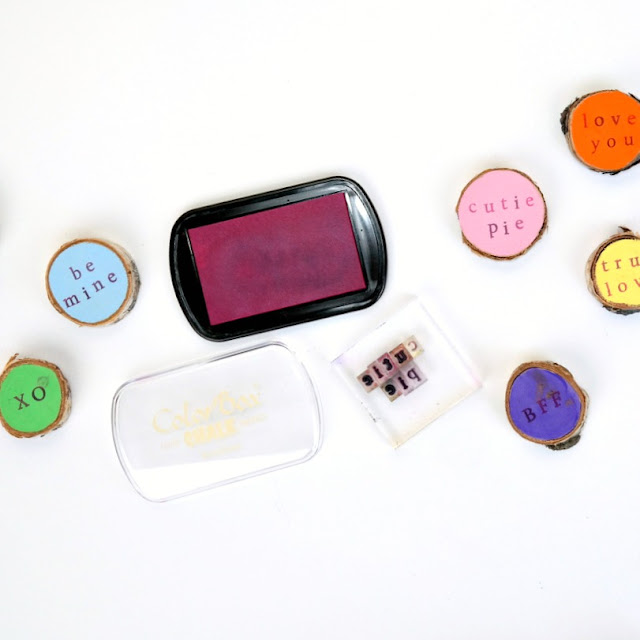
Hi! I'm sharing a quick 3-step tutorial on how to create valentine conversation greetings from Walnut Hollow Birch rounds. My daughters love the candy hearts that show up each year for Valentine's Day. Their school prefers non-candy treats and this wood slice version offers all the fun of a special greeting without the sugar.
Supplies:
Walnut Hollow Birch Value Bag (20 Birch Slices)
Walnut Hollow HotMarks Tool
Acrylic Paint
Chalk Ink (ColorBox Berrylicious)
Mini Alphabet Stamps (Paper Wings Productions)
Paintbrush
Heat Gun
Step One: Paint both sides of the wood slices with pastel colors of acrylic paint.
Step Two: Twist on the Heart Hot Stamping Point onto the HotMarks tool and burn a heart shape onto one side of each birch round.
Step Three: Use a mini alphabet stamp set with pink chalk ink to add valentine greetings to one side of each birch round. Use a heat gun to set the ink for a permanent finish.
This project was a lot of fun! These conversation rounds range in size from about 1 to 2 inches, so they are a perfect size to tuck into a pocket, purse, or jewelry box for safe keeping, and they last forever. I'm looking forward to passing these out to my friends and loved ones!


What an AWESOME IDEA! I loveeeeeeeeeeeee these!!!!!!!!!!!!!!!!!!!!!!!
ReplyDelete