Welcome to the 7th Annual Handmade Holidays blog hop hosted by Smart Fun DIY! Day 2 of this hop is all about unique home décor pieces. We hope to inspire you to create something from the heart for your home this holiday season.
I altered a Steampunk Santos Cage Doll Shrine Kit for my mantle. This piece stands 11 inches tall and is cut from sturdy 1/8-inch Masonite. The techniques and materials I used to alter this kit are just one of countless possibilities for decoration. I've named this doll the Angel of Winter for her frosty wings and necklace, her icy crystal dangles, and the peaceful snow globe scene on the base. I used a mostly neutral palette of ivory, white, silver, and gold. I brought in some cool colors with green and blue ink. I used an assortment of products from Scrapbook Adhesives by 3L to help hold this piece together.
Step 2: Use a Home and Hobby Dual Tip Glue Pen to apply embossed napkins to the bases and support bars. Then brush on green, blue, and brown chalk ink. Note: I purchased embossed napkins for a quick and easy way to add texture to this project.
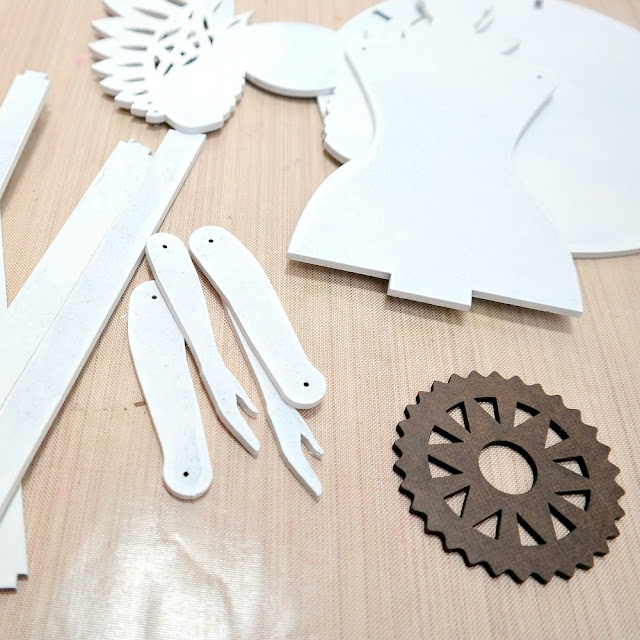
Step 3. Create a snow globe scene on the bottom base. First, apply white texture paste to two Masonite gears, to resemble snow, and glue to the bottom base. Next, glue two brush trees to the center of the gears. Then, fill a small glass globe with mica flakes and glue over the trees onto the base. Finally, glue a strand of rhinestones around the base of the globe.
Step 4: Glue the support bars to the base. Fit the upper base onto the support bars and apply glue to secure. Attach a length of crystals from the top of the snow globe to the bottom of the upper base.
Step 5: Assemble the doll. Cut patterned paper to fit the doll body and arms and glue down. Cut lace trim to wrap around the doll arms and along the base of the body. Attach the lace trim to the doll with Crafty Power Tape. Apply white texture paste to the wings and glue to the back of the body. Glue a paper doll head to the front of the doll and a gold halo behind. Ink the edges of the doll body with brown ink.
Step 6: Glue the doll body to the base. Create a snowflake pendant necklace for the doll. Glue two Masonite snowflakes together. Apply texture paste to the snowflakes. Glue a lace cabochon and rhinestone pendant onto the snowflakes. Loop a length of ball chain through the pendant and hang from the doll neck. Secure the necklace to the doll body with a Large Adhesive Dot.
Step 7: Use Crafty Power Tape to attach lace ribbon around the base of the doll body. Hang crystal dangles from the loops in the lace.
Step 8: Apply blue and green ink to metal number tokens. Use a sanding block to distress the tokens. Note: The photo above shows the inked tokens before and after sanding. I plan to use these numbered tokens to count down the days until Christmas.
Step 9: Create a place for the numbered tokens to hang. A silver charm with a decorative handle worked well. I attached the charm to the doll with some seam binding ribbon.
I'm really pleased with this finished piece! Below are some close-up shots of the completed doll and cage portions of the shrine.
Thanks for stopping by today! Don't forget to enter the giveaway!
Pin It!


Beautiful work !
ReplyDeleteHow beautiful and intricate! I love this idea! Thanks for sharing :)
ReplyDelete>> Christene
Keys to Inspiration
Wow, I've not seen anything like this before. What a lovely and unusual Christmas decoration.
ReplyDeleteVery unique and beautiful!
ReplyDeleteFabulous steampunk way to count down the days to Christmas.
ReplyDeleteHoly cow! This is so amazing. I love how it's crafty and artsy at the same time. My sister is so gonna want one!
ReplyDeleteWow. This is so creative and crafty! Fabulous job with making such a unique piece of decor!
ReplyDeleteWow wow wowwwwwwwwwwww! This is AMAZING! LOVING the numbers and those trees!!!!!!!!!!!!!
ReplyDeleteThis is so unique and lovely! I really like the snow globe.
ReplyDeleteWhat a unique and beautiful centerpiece. I love the little details of adding the Christmas's date to the display.
ReplyDeleteWow, this is so elegant and unique!
ReplyDeleteBest,
Kelly
This is such a cool & creative project!
ReplyDelete