Welcome to the Paper Wings Productions February Blog Hop and Giveaway! If you've arrived here from the Paper Wings Productions blog you're in the right place. If you’re just stopping by for a visit, and you'd like to see some amazing artwork and have the chance to win a prize, please CLICK HERE to start the hop from the beginning.
The first Friday in February is National Wear Red Day in support of the American Heart Association effort to raise awareness of heart disease in women. The Paper Wings Productions Design Team has created projects using the color red. We hope you will find inspiration to inspire your own crafts and also be reminded that your health is important too!
If you complete the hop, you will be eligible to win a $25 Gift Certificate to the Paper Wings Productions Store!
For a chance to win all you need to do is:
- Follow the Paper Wings Productions blog.
- Visit each of the participating designer's blogs and leave a comment.
- Leave a comment on the PWP blog telling us you completed the hop.
To increase your chances of winning, like the PWP Facebook page and/or invite your friends to the hop. Be sure to leave a separate comment for each of your additional entries. The winner will be announced on Tuesday, February 6th on the Paper Wings Productions blog.
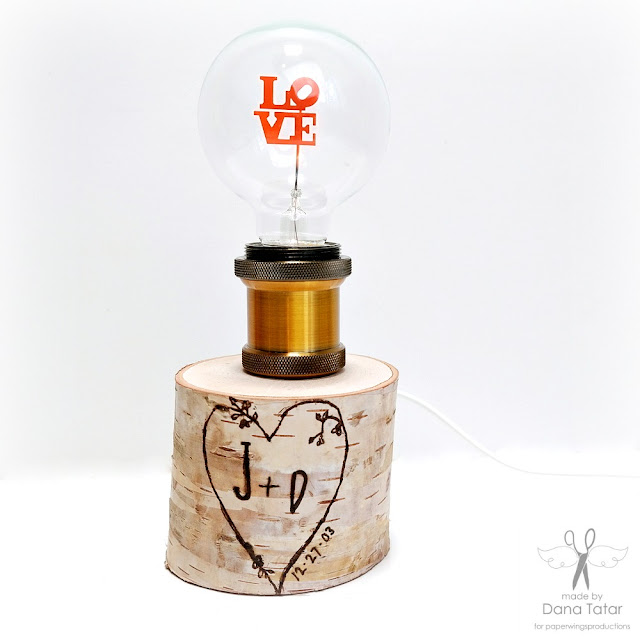
I created this rustic wood burned birch pillar lamp with my husband. We enjoy creating home décor projects together. This piece started as a craft fail. I had planned to use this birch pillar differently. We ended up drilling a large hole in the center of the top and bottom of the pillar. Not happy with either hole, or the original project design, my husband suggested that we use the pillar as a lamp base.
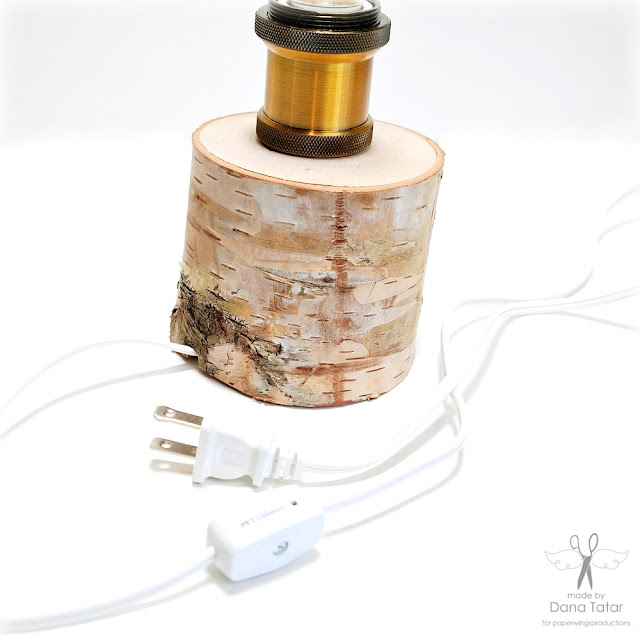
Step 1: Drill through the birch pillar. Insert the lamp socket and cord. Drill a small notch in the bottom of the pillar to contain the cord so that the lamb base sits flat.
Here's a list of the supplies I used:
Walnut Hollow 3" Birch Pillar
Solid Bronze Lamp Socket
Rotary Switch Lamp Cord
Here's a list of the supplies I used:
Walnut Hollow 3" Birch Pillar
Solid Bronze Lamp Socket
Rotary Switch Lamp Cord
Step 3: Use the Walnut Hollow HotMarks Tool (available from Michael's) to burn the stamped design into the wood.
Step 4: Stamp initials into the center of the heart with brown ink and the Funky Alphabet Clear Stamp Set. Use the Walnut Hollow HotMarks Tool to burn the initials into the wood.
Step 5: Use the Walnut Hollow HotMarks Tool to add a special date to the pillar. I added our wedding date.
Step 6: Add a decorative light bulb to the socket. This light bulb is low wattage and is on in this picture. The word "LOVE" glows red! I purchased this bulb here.
The next stop on the hop is Ashley's blog.
***Here is the complete hop order.***
Dana {You Are Here}
THANK YOU SO MUCH FOR JOINING US TODAY!
~and~
Let your creativity take flight!
Pin it!


This is certainly a creative cutie!
ReplyDeleteThis is GORGEOUS! I am LOVING the design on the birch!!!!
ReplyDeleteWhat a wonderful idea Dana. I got to try it. Tfs.
ReplyDeleteWow- this is just amazing! So creative. Well done!
ReplyDelete