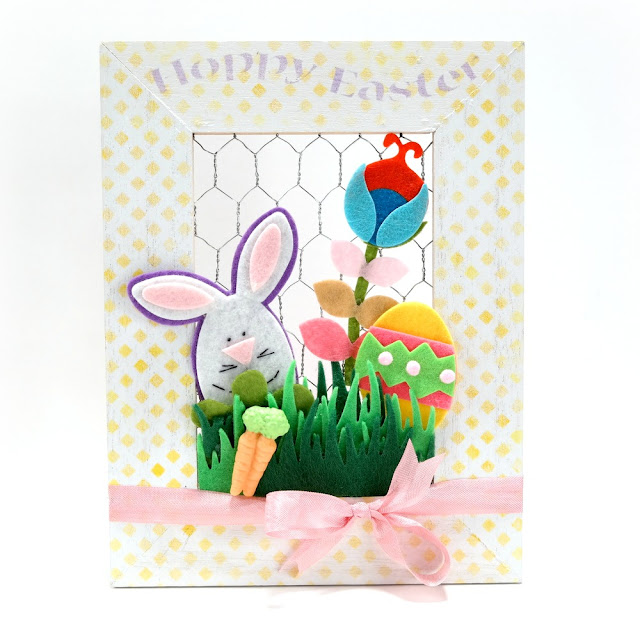
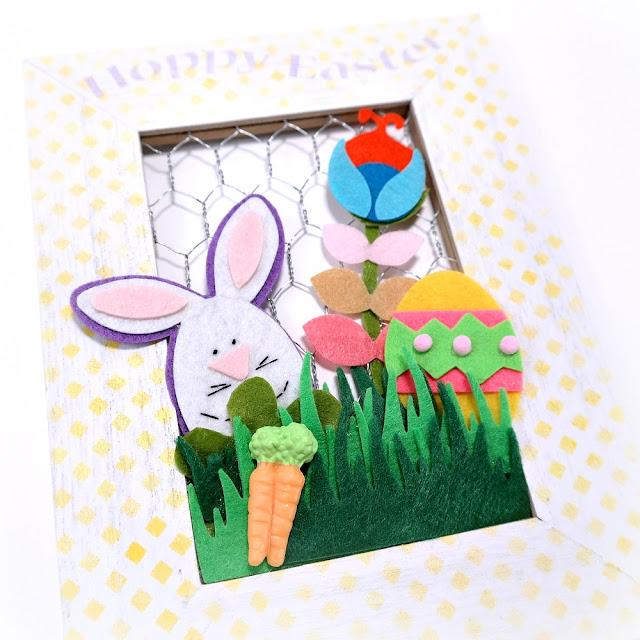
Hi! I'm sharing how to decorate a chicken wire frame for Easter using Art Screens and a couple of the new shades of ColorBox DyeStress Ink for Clearsnap today. This whimsical décor piece was super fun to put together. I used felt embellishments to help balance the wood and wire of the frame. I love to touch my finished projects, so felt was a great soft choice for the focal point of this project.
Use a ColorBox Stylus to apply Bumble Bee DyeStress Ink over the Ann Butler Lattice Art Screen onto a wood frame. Carefully align the frame over the stenciled portions and apply more ink until the entire frame is covered with the lattice pattern.
Use an Art Dauber to apply Aster DyeStress Ink over a ‘Hoppy Easter’ stencil onto the top edge of the frame.
Use a hot glue gun to attach felt grass, flowers, an egg, and a bunny to the center of the frame. Greeting cards are a great place to find seasonal embellishments like the bunny and the egg.
Tie a ribbon into a bow around the bottom edge of the frame.
Clearsnap Supplies:
ColorBox® DyeStress Ink: Aster, Bumble Bee
ColorBox® Art Screens – by Ann Butler: Lattice
ColorBox® Stylus Handle and Tips
Art Daubers
Other Supplies: Chicken Wire Frame (DCVW); Hoppy Easter Stencil (Stampendous); Felt Embellishments; Seam Binding Ribbon
ColorBox® Art Screens – by Ann Butler: Lattice
ColorBox® Stylus Handle and Tips
Art Daubers
Pin It!


OMYGOSH!!!!! This is just ADORABLE! LOVING that little bunny!
ReplyDeleteThanks Julie!
Delete