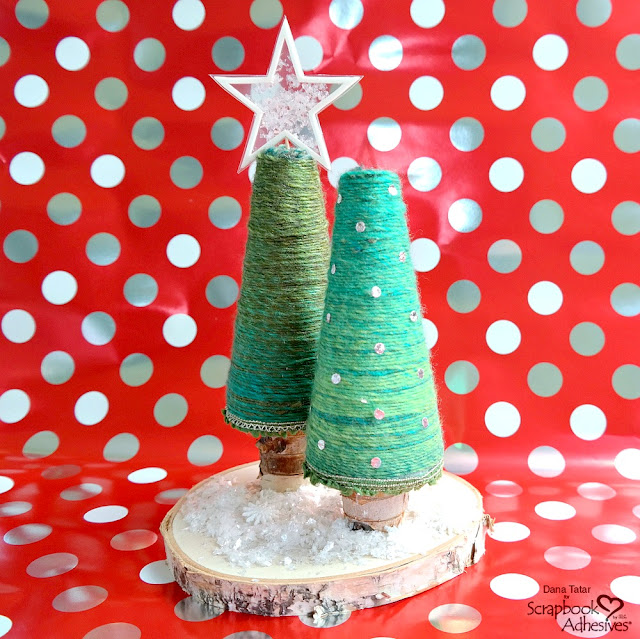
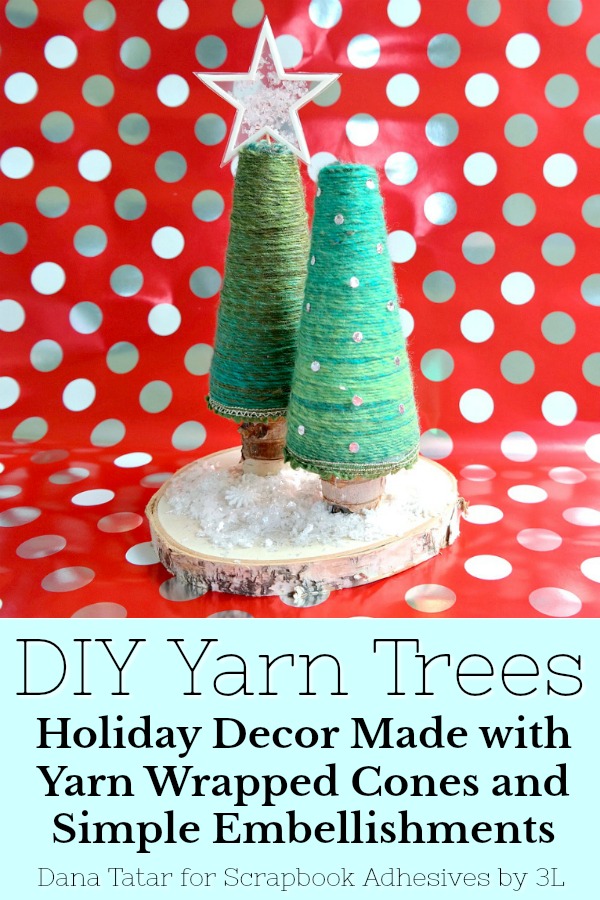
Hi! I'm sharing a festive tutorial for yarn trees for Scrapbook Adhesives by 3L today. Yarn Trees are a fun and easy way to decorate for the holidays. I used everyday craft supplies and some of my favorite adhesive products from Scrapbook Adhesives by 3L to decorate foam cones to create Christmas décor.
Yarn Tree Supplies
- 2.75 in x 6 in #6 Foam Cones
- Green Yarn
- Green Felt
- 1 in Birch Rounds
- Acetate
- Mica Flakes
- Green Ribbon Trim
- Scissors
- 12x12 in Adhesive Sheets
- Micro Adhesive Dots
- 3D Foam Stars
- 3D Foam Creative Embellishment Kit with Foil
- Extreme Double-Sided Tape, 1/2 in and 1/8 in
Yarn Tree Tutorial
- Use a 1.5 inch circle punch, or a pair of scissors, to cut pieces of Adhesive Sheet to cover the top circle of #6 foam cones. Peel away the yellow liners, press the adhesive onto the cones, and apply pressure to transfer the adhesive.
- Peel away the white liners and lay small pieces of yarn over the top of the cones. Press firmly to adhere the yarn pieces to the adhesive.
- Cut a piece of a 12x12 Adhesive Sheet to size to cover a cone. Peel away the yellow liner, press the adhesive onto the cone, and apply pressure to transfer the adhesive. Peel away the white liner and wrap the cone with yarn. Repeat the same process for the second cone.
- Cut a circle from felt to cover the bottom of the cone. Remove the yellow backing paper from a 4x6 in Adhesive Sheet. Align the felt onto the adhesive and press. Use scissors to cut the felt from the adhesive sheet. Remove the back liner and adhere to the bottom of the cone. This piece of felt will protect furniture surfaces from scratches.
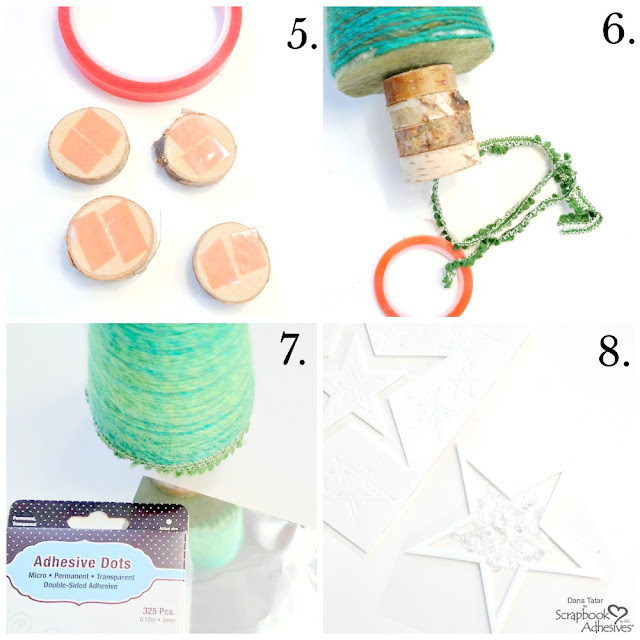
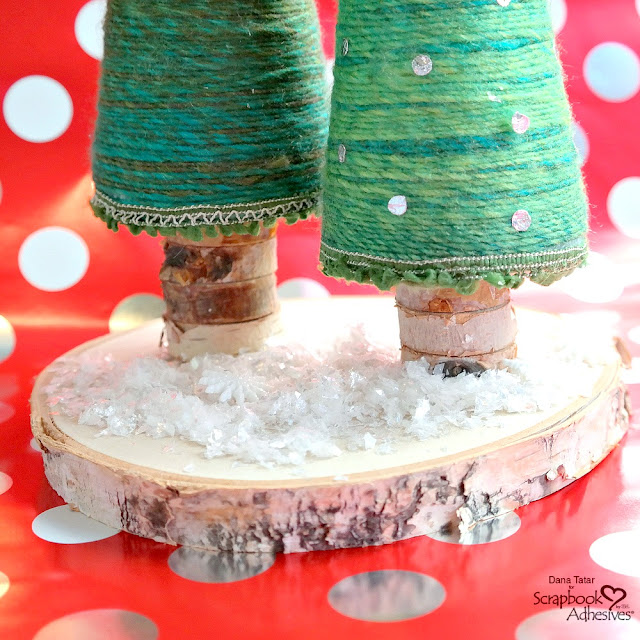
- Apply pieces of 1/2 in Extreme Double-Sided Tape to 1 in birch rounds. Stack 3 or 4 birch rounds together to create trunks for each tree. Attach the trunks to the bottom of each cone using Extreme Double-Sided Tape.
- Cover the bottom edge of each cone with decorative trim using 1/8 in Extreme Double-Sided Tape.
- Decorate the trees. Apply Micro Adhesive Dots to one tree. Place the transfer foil, colored side up, over the adhesive. Gently rub and peel away.
- Create a shaker star embellishment for the topper of one tree. Place one 3D Foam Star onto a piece of acetate. Fill the center of the star with mica flakes. Peel away the white liner from the star. Place a second piece of acetate over the top and press to seal. Use a pair of scissors to trim away the excess acetate. Attach the star to the top of a tree using a toothpick.
I used silver foil to decorate one yarn tree. The 3D Foam Creative Embellishment Kit with Foil includes 5 sheets of transfer foil: Gold, Silver, Blue, Red, Green. Decorate with one color or a festive mix!
Wear your adhesive on the outside! I filled this shaker star embellishment with mica flakes, but sequins or glitter would like just as good.
The birch round trunks add a realistic finish to these simple trees. Try sponging on white acrylic paint for a frosty finish.
I designed my trees using green products, but any color, size, or texture of yarn would look fantastic.
Scrapbook Adhesives by 3L Supplies:
12x12 in Adhesive Sheets
Micro Adhesive Dots
3D Foam Stars
3D Foam Creative Embellishment Kit with Foil
12x12 in Adhesive Sheets
Micro Adhesive Dots
3D Foam Stars
3D Foam Creative Embellishment Kit with Foil
HomeHobby by 3LSupplies:
Other Supplies: #6 Foam Cones: FloraCraft; Yarn: Lion Brand; Birch Rounds: Walnut Hollow; Mica Flakes: Melissa Frances; Green Trim: Webster's Pages; Felt; Acetate; Toothpick
Pin It!


Wow wow wow!! These are absolutely GORGEOUS!
ReplyDeleteThanks Julie!
Delete