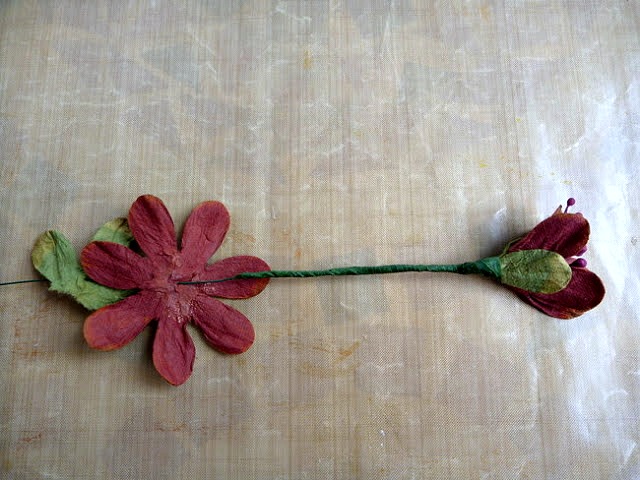
I love adding flowers to my layouts. My pages never seem finished to me without some beautiful blooms. I usually use flowers as they are, straight from the package for my projects. I found that by removing the flower centers and separating the layers of flower petals, a single bloom could be transformed into a floral branch.
Supplies:
Flowers
Floral Wire
Floral Tape
Wire Cutters
Paper Piercer
Scissors
Adhesive
Step One: Carefully remove the flower center from each flower and gently peel apart the layers of flower petals. Note: I used the Petaloo Darjeeling Collection Wild Flower Mix for my floral branches.
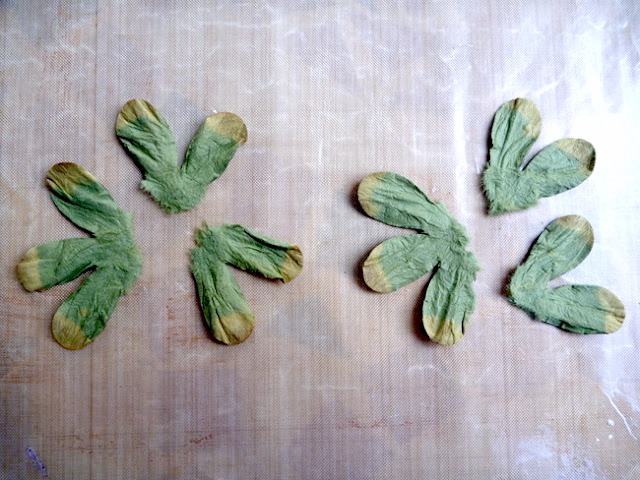
Step Two: Pull apart, or cut using scissors, the petals of a green flower so that the petals are in groups of two or three. Note: I separated the green flower in this manner for use as the base for each of my floral buds. A matching or contrasting colored petal, or fabric leaves, could also be used for a floral base.
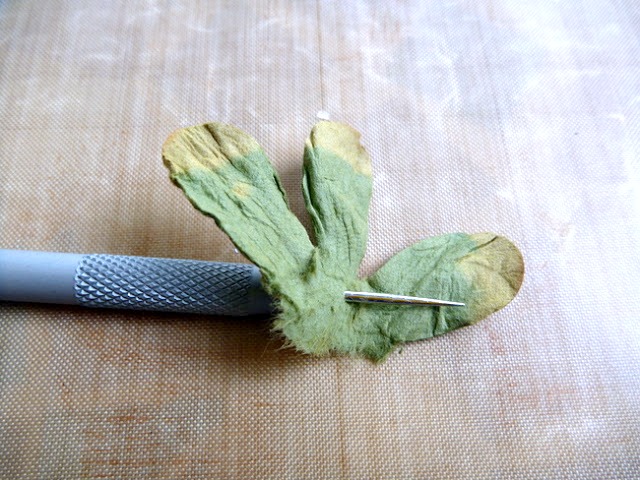
Step Three: Using a paper piercer, gently pierce a hole through the center of each flower and flower base.
Step Four: Cut a piece of floral wire to the desired length and bend a small loop at one end. Add one flower and one floral base to the piece of floral wire.
Step Five: Apply a small drop of adhesive to the center of the flower and add the flower center. Form the flower into the desired shape and let dry.
Step Six: Apply a small drop of adhesive to the center of the floral base and wrap around the bottom of the flower. Let the adhesive dry before moving on to the next step.
Step Seven: Starting at the base of the flower, wrap floral tape around the floral wire. Continue wrapping floral tape around the wire until you reach the desired spot on the floral wire for the next flower.
Step Eight: Add one flower and one floral base to the piece of floral wire.
Step Nine: Assemble the flower as before. Apply a small drop of adhesive to the center of the flower. Form the flower into the desired shape and let dry. Apply a small drop of adhesive to the center of the floral base and wrap around the bottom of the flower. Let the adhesive dry. Starting at the base of the flower, wrap floral tape around the floral wire.
Step Ten: Continue wrapping floral tape around the wire until you reach the end of the wire. Repeat these steps to make the remaining flowers into floral branches. Note: The flowers that I used had two layers of petals and one flower center, so each of my floral branches has two flowers, one with a decorative flower center. The amount of flowers on each branch can easily be increased or decreased.
I created this layout and tutorial for the Petaloo event at Scrapbook News and Review Magazine last summer. While I'm not totally in love with this page anymore, I'm still crazy about the floral branches.
Supplies: Paper: Onirie; Doily: We R Memory Keepers; Flowers: Petaloo; Letters: Pink Paislee; Ink: Ranger; Other: Floral Tape, Floral Wire


gorgeous...great tutorial..got to give this a try~
ReplyDelete