Flourishes are one of my favorite embellishments to add to projects, but the designs, materials and colors of flourishes on the market are similar across many manufacturers. I like to add unique embellishments to my projects but I'm left with limited options with store-bought flourishes. Using clear tar gel, I was able to design and decorate one-of-a-kind flourishes for my project.
Supplies:
Clear Tar Gel
Paint
Glitter
Rhinestones
Paintbrush
Craft Stick
Step One: Dip a craft stick or palette knife into the tar gel and quickly swirl the gel over a nonstick work surface. Let dry. Note: Tar gel has a cloudy appearance when wet and becomes clear when dry.
Step Two: Paint the flourishes. Add a light sprinkling of glitter to the flourishes before the paint is completely dry for a little extra shine. Note: Several coats of paint were necessary to cover the flourishes evenly.
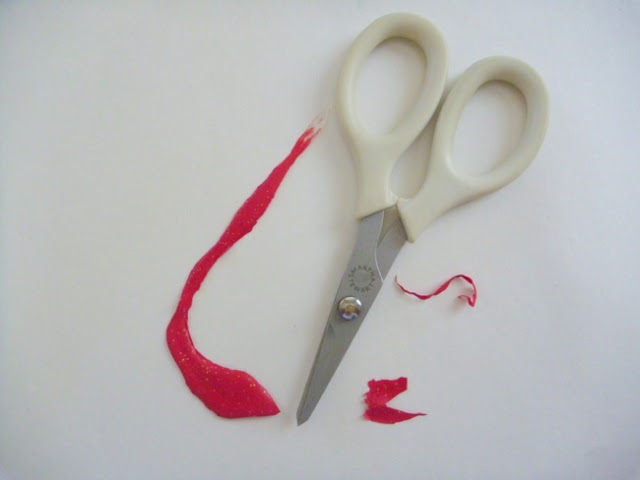
Step Three: Carefully remove the flourishes from the work surface and trim any dried paint from the edges.
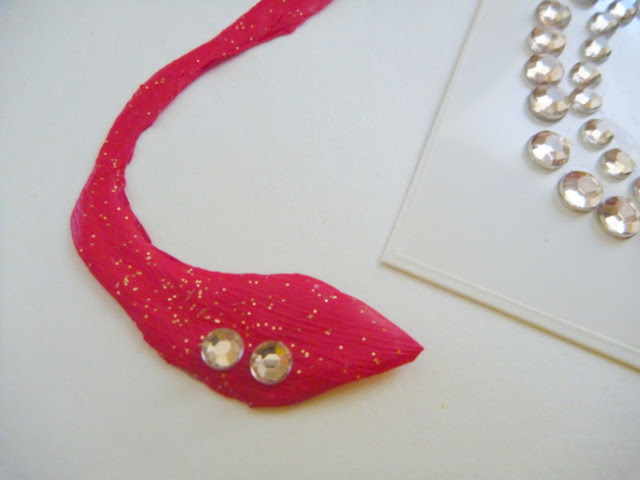
Step Four: Add rhinestones to the end of each flourish and attach to project.
Supplies: Tag: Avery; Tissue Paper: Pink Paislee; Ticket: Webster's Pages; Flower: Prima; Rhinestones: Kaisercraft; Glitter: Martha Stewart; Ink: Ranger; Paint: Making Memories; Clear Tar Gel: Golden; Other: Twine


Your tag is beautiful! Love the tutorial!!
ReplyDelete