

Hi! I'm sharing a home decor piece that I created with the October Club Q Altered Kit for Quick Quotes today. The Club Q Kits this month include patterned papers from the NEW Happiness Collection. The color palette is fantastic for fall. The Happiness line combines traditional Autumn hues with several bright shades for a fun, fresh color palette that is so fun to work with!
I used several pieces of patterned paper and some of the fun die-cuts and plastic pieces from the kit to embellish this canvas. I wasn't at all surprised to find the perfect vellum sentiment to finish this piece in the Quick Quotes Sentiments Bundle.

I first selected a fun flower print stencil, taped the top and bottom edges to the canvas to hold it in place, and then spread a thin layer of Molding Paste over the design.

My stencil wasn't quite large enough to cover the canvas panel completely, so I added strips of torn cardboard to the top and bottom to help fill the space and to add another layer of texture to the piece. I painted the cardboard with a coat of Gesso and set aside the canvas to dry. Note: It is best to let the paste dry naturally rather than use a heat gun. Applying direct heat to the paste will dry the top layer quickly but will leave the bottom layer wet.
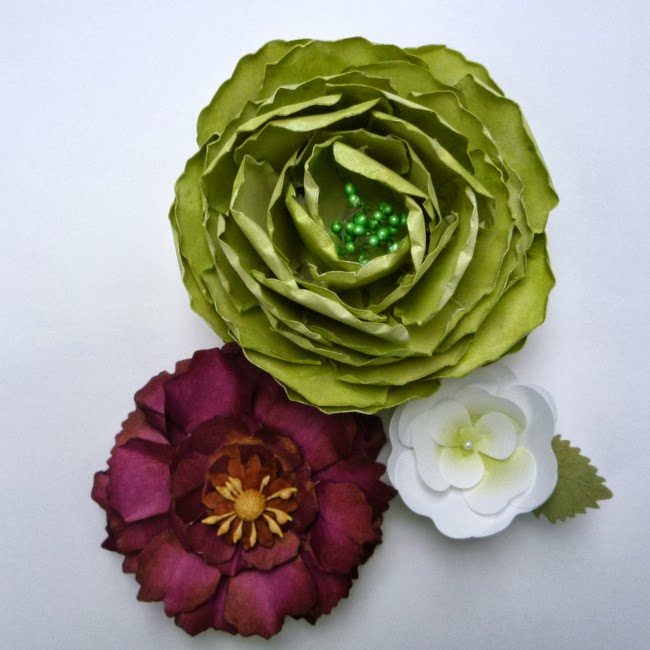
While the Molding Paste and Gesso was drying on the canvas, I made a flower. I used the gorgeous maroon Happiness 100 patterned paper, Bloody Mary and Lemonade PowderPuff Chalking Ink and a Tattered Floral die set to create the deep red flower. Note: The large green flower was made for me by a friend and the smaller white flower is store-bought. A large leaf cluster of even a pretty bow would work equally well as embellishments.

I gathered a small pile of product that I thought would look good with the flowers, which will be the main focal point of my canvas. There is a nice selection of ribbon, plastic pieces and die-cut leaves in the kit. I pulled a doily, a branch, chipboard, mesh and some rhinestones from my stash.

I selected two colors of Radiant Rain Mist, Honeydew and Ginger Peach, to quickly add some all-over color and shimmer to the background of my canvas. While holding the canvas upright, I sprayed 3-4 pumps of each color in a small area and let the mist run down the canvas. Note: I did dry the mist with a heat gun. The heat gun also works great to direct drops of mist down the canvas.

I filled in the white space on the canvas with PowderPuff Chalking Ink. I used Lemonade, Limeade and Green With Envy on the base of the canvas and Bloody Mary and Very Berry around the edge of the canvas. Once my color was applied, I used a damp piece of paper towel to remove the ink from the molding paste to help the pattern pop.

The vellum quote from the Quick Quotes Sentiments Bundle was long enough to wrap around to the back side of the canvas. I secured the vellum to the back of the canvas frame with staples.

I tucked the die-cut leaves from the kit on both sides of my flower cluster. I colored the edges of the leaves with Bloody Mary and Lemonade PowderPuff Chalking Ink to create the beautiful orange hue.

I added a small Wine Gingham bow to my branch for a fun pop of color.
Thanks so much for stopping by today!
Quick Quotes Supplies:
October Club Q Altered Kit
Happiness 100
Sentiments Bundle
3/8" Wine Gingham Ribbon
Bloody Mary PowderPuff Chalking Ink
Green With Envy PowderPuff Chalking Ink
Lemonade PowderPuff Chalking Ink
Limeade PowderPuff Chalking Ink
Very Berry PowderPuff Chalking Ink
Other Supplies: Radiant Rain Mist: Splash of Color; Green Flower: Zeus and Zoe; White Flower: Martha Stewart; Doily: Hallmark; Branch: Petaloo; Chipboard: Pink Paislee; Stencil: DecoArt; Molding Paste: Golden; Gesso: Golden
just beautiful dana!
ReplyDeleteDana this is so beautiful !! thanks for sharing the creative process, just love the awesome green flower and the deep red flower !!
ReplyDeleteWow! Such gorgeous color!
ReplyDeleteSuch gorgeous details and colours ! You made the flowers, too, I bet these are from the shop!
ReplyDeleteGrazie for your kind words, Dana. :-)
This is gorgeous, beautiful colours and embellishments
ReplyDeleteRosie x
Had to stop in to comment - GOODNESS~!! This is just STUNNING, Dana!! Great step outs and wonderful ideas..will need to "lift" this :) Thanks for the inspiration <3
ReplyDeleteOh wow! Fabulous layers and texture! Just beautiful!
ReplyDelete