

Hi! I'm sharing a layout that I created for FabScraps today. I used the gorgeous Floral Dreams (C88) collection. In addition to this post, I also have a video tutorial, which you can view on the FabScraps Blog or just scroll down! Here's the full supply list and written instructions.
Supplies:
Floral Dreams Fluttershine (C88 001)
Floral Dreams Melody (C88 002)
Floral Dreams Make A Wish Chipboard (DC88 007)
Floral Dreams Filigree Frame Stencil (DS 055)
Mother Earth Branches of Leaves Stencil (DS 052)
Pink Cardstock
Paper and Fabric Flowers - Pink
Paper Leaves - Green
Dye Ink - Brown, Green, Purple
Glaze
Glitter Glue - Clear
Dimensional Paint - White
Directions:
1. Place the Filigree Frame Stencil over the upper right
corner of the Fluttershine patterned paper. Apply brown dye ink over the
stencil.
2. Place the Branches of Leaves Stencil over the upper left
corner of the Fluttershine patterned paper. Apply green dye ink over the
stencil.
3. Attach two wallet size photos over the stenciled frame
design.

4. Cut the designs from the Melody patterned paper. Arrange
the designs around the photo, along the stenciled branch, and in the bottom
left corner of the layout.
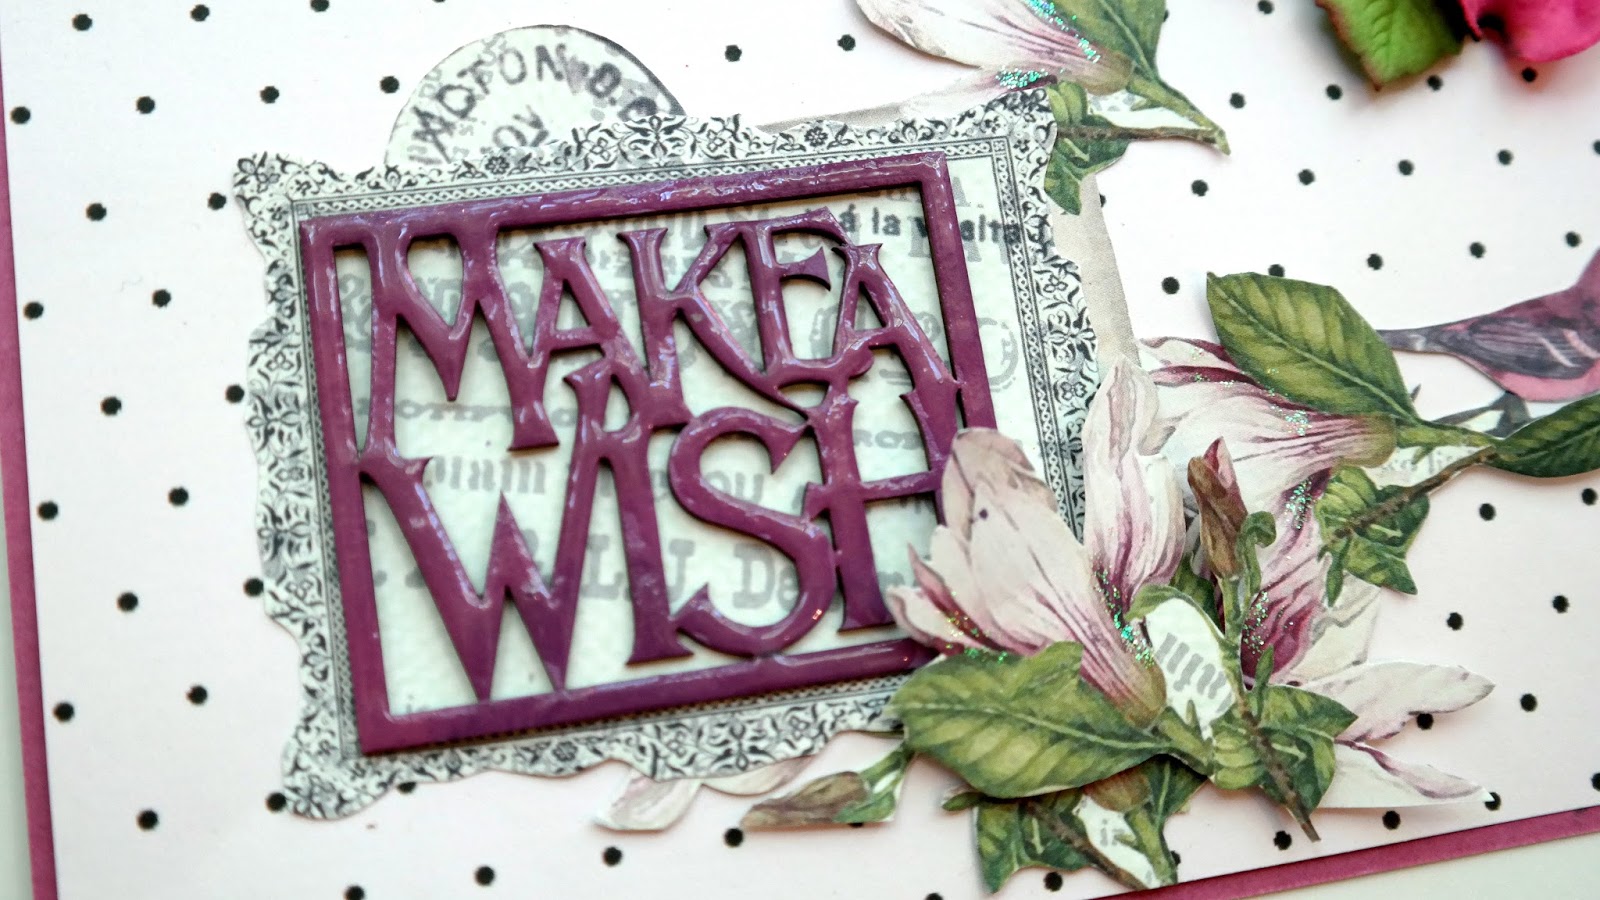
5. Color the Make A Wish chipboard with purple dye ink. Glue
the chipboard on top of the decorative frame in the lower left corner of the
page. Apply a layer of glaze to the chipboard piece.
6. Add glitter glue to the flower petals, butterfly wings,
and fairy wings.
7. Highlight the numbers on the clock face with dots of
dimensional paint.

8. Add flowers and leaves to the stenciled branch and around
the photo.
9. Mount the layout onto a piece of pink cardstock.
This is gorgeous! LOVING the photos and the flowers!!!!!!!!!!!!!!!!!!
ReplyDeleteWhat a beautiful layout, Dana!! Perfect for these sweet photos. I'm just adoring these beautiful dogwood flowers!! ~ Blessings, Tracey
ReplyDelete