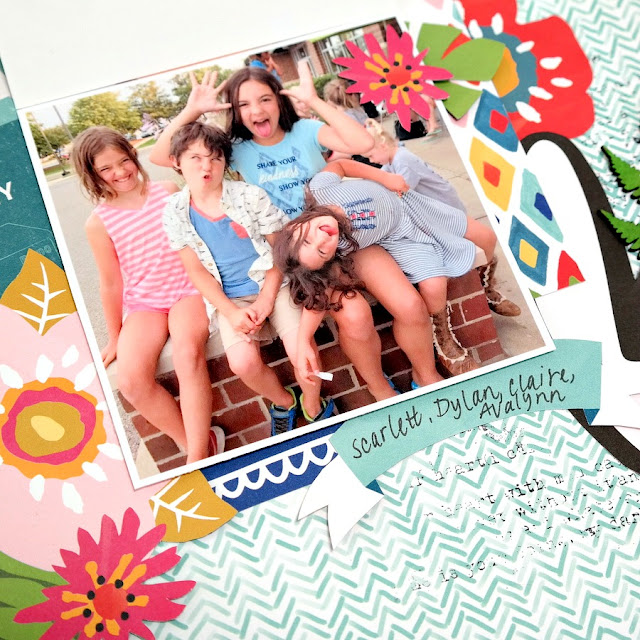
Hi! I'm sharing a colorful interactive scrapbook layout that I created for Creative Embellishments today. There is never a dull moment when this group of kids gets together. I thought it would be fun to create a multi-photo layout. Instead of having both photos immediately visible, I decided to create a flip-up photo tab from a piece of Wood Veneer Banner. I’m not quite sure how we managed to capture the top (visible) photo where everyone is posed, smiling, and looking directly into the camera. Keep reading to see what time with this group of kiddos is really like!
Whenever possible, I like to complement the designs on patterned papers with similar embellishments of the chipboard or wood veneer variety. Leaves and banners are an extremely common theme so I stock up on them to have several options on hand. The Fern Foliage 4 were a great match to the ferns that I cut from patterned paper for this layout. I brushed Tattered Angels Leaf Baseboard Mist onto the raw chipboard ferns. Tattered Angels Baseboard Mist is a semi-opaque paint without any added glimmer. This formula of paint is thick enough to cover chipboard without looking dull when dry. (If using a thinner formula of glimmer/shimmer mist, an application of white gesso before painting will yield a more true final color.)
I placed the chipboard ferns onto the background of my layout after I applied some random stamping with the Distressed Text Stamp. I then built up layers of patterned paper on top of the chipboard, which is a quick and easy way to add dimension to a page.
How to Create a Flip-Up Photo Tab with a Wood Veneer Banner
I selected a banner that matched the patterned paper die-cut that I used for journaling under my photos. I didn’t want to cover too much of my photo, so I cut off the right edge of the banner and just used that small segment. Next, I glued the wood veneer banner piece directly onto the photo and wrote the word ‘lift’ on it with black marker. I folded a piece of washi tape over the top edge of the photo to attach a second photo to underneath.
Lifting up on the wood veneer banner tab reveals the second photo. These kids are full-on silly 99% of the time!
Thanks so much for stopping by today! I hope your Summer has been fun-filled so far! If you're looking for a fun scrapbook kit to help document your Summer memories, and liked the products I used for this layout, check out the Bad Girls Couture Kit Club. I used the 42 St. Soda Shoppe Scrapbook Kit.
Creative Embellishments Supplies:
Wood Veneer Banners
Fern Foliage 4
Distressed Text Stamp
Pin It!


This is GORGEOUS! LOVING the colors, the way you used the chipboard and LOVING how you included the outtake photo!! LOL!!!!
ReplyDeleteThanks Julie!
Delete