Hi! I'm sharing a wood slice that I painted and embellished for Clearsnap today. I started this project with a Walnut Hollow Basswood Round and the new Terrarium Art Screens Trio. ColorBox® Art Screens Trios offer three unique stencil images designed for use in sequence to create beautiful layered art. The screens can also be used individually. I used all three screens from this set, plus a strand of chipboard lights, to create this festive home décor piece.
How to Stencil and Emboss a Wood Slice for Christmas
Use a paintbrush to apply several coats of pink acrylic paint to a wood slice. Let dry.
Place one succulent Art Screen from the Terrarium Art Screens Trio onto the wood slice. Use sponge daubers to apply pigment ink over the screen.
Remove the art screen and apply Clear Embossing Powder over the inked area. Gently tap off the excess embossing powder and heat to set.
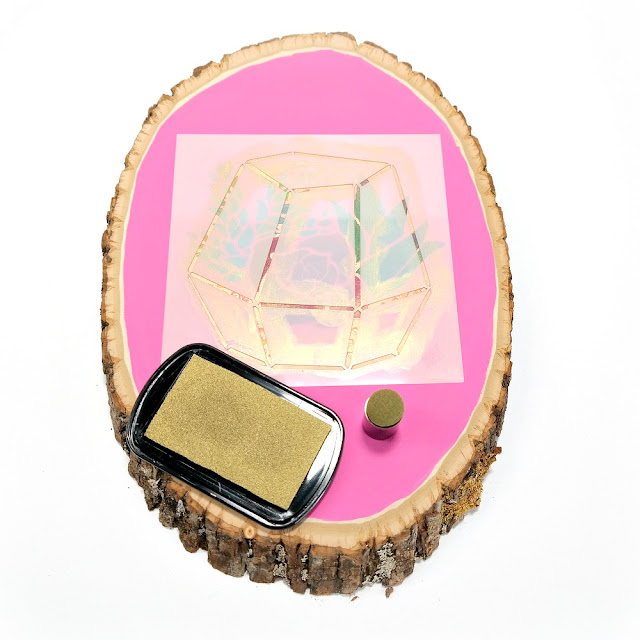
Repeat the inking and embossing process with the second succulent Art Screen. (Ink pads from the Paintbox Sets can lift out of the case as shown. Apply color to large areas by using the handle on the back and pressing the ink pad directly to the craft surface.)
Place the terrarium Art Screen over the stenciled succulent design. Use a sponge dauber to apply Gold Metallic Pigment Ink over the stencil.
Remove the art screen and apply Gold Embossing Powder over the inked area. Gently tap off the excess embossing powder and heat to set.
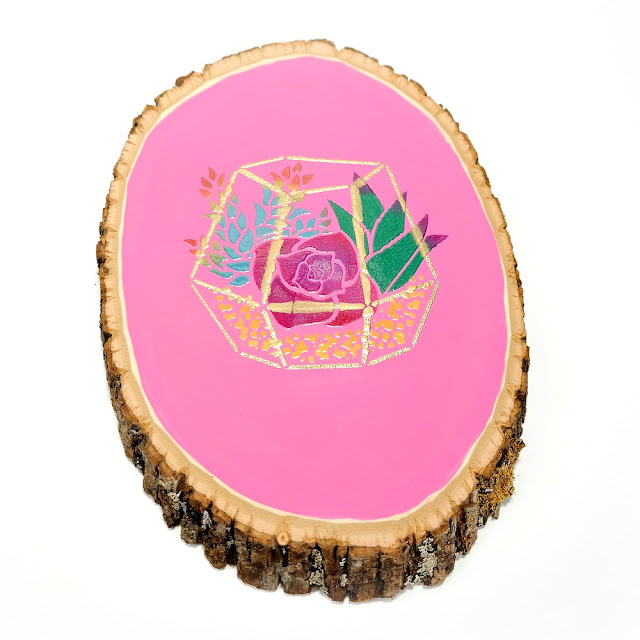
Here's the complete stenciled and embossed image.
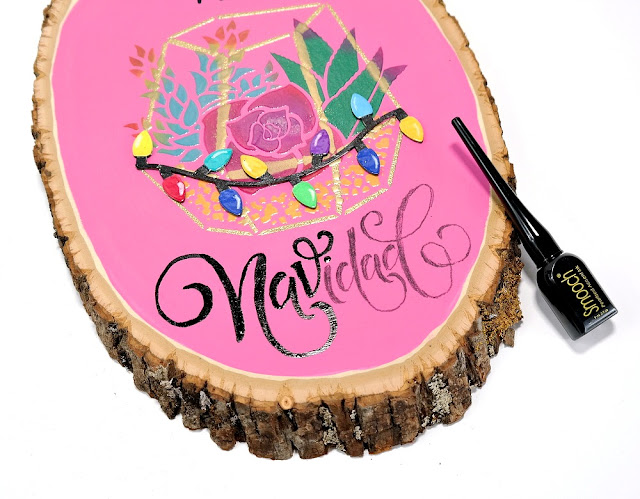
Color a strand of chipboard Christmas lights with pigment ink. Paint highlights to each bulb with Moonlight Smooch ink. Sprinkle clear embossing powder over the inked chipboard. Gently tap off the excess embossing powder and heat to set. Secure the colored lights to the base of the stenciled terrarium.
Use a pencil and carbon paper to transfer the sentiment Felìz Navidad onto the wood slice. Paint over the words with Tuxedo Smooch.
I really love this vibrant design. It was really fun to depart from the traditional Christmas palette and imagery and create something that was colorful and fun.
Clearsnap Supplies:
ColorBox Paintbox® Pigment Ink: Bright
ColorBox® Metallic Pigment Ink: Gold
ColorBox® Embossing Powder: Clear, Gold
Smooch®: Moonlight, Tuxedo
ColorBox® Art Daubers
Other Supplies: Acrylic Paint (DecoArt); Chipboard Christmas Light Strand (Creative Embellishments); Walnut Hollow Basswood Country Round Wood Slice; Paintbrush; Pencil; Carbon Paper; Extreme Double-Sided Tape 1/8in. (Scrapbook Adhesives by 3L)
Pin It!


Wow wow wow!! This is GORGEOUS! LOVING the whole design and loving the lights!!!!!!
ReplyDeleteThanks so much Julie!
Delete