Hi! I'm sharing how to create a one-of-a-kind wood slice print today. Bring the outside in with this fun DIY tutorial!
Prepare the surface of the wood slice for printing by sanding it smooth.
Burn the wood slice with a blowtorch. The burning process will remove the soft new growth from the wood slice, leaving the stronger old wood behind.
Remove the soot from the wood slice with a wire brush.
Apply ColorBox Licorice Premium Dye Ink by Stephanie Barnard to the wood slice.
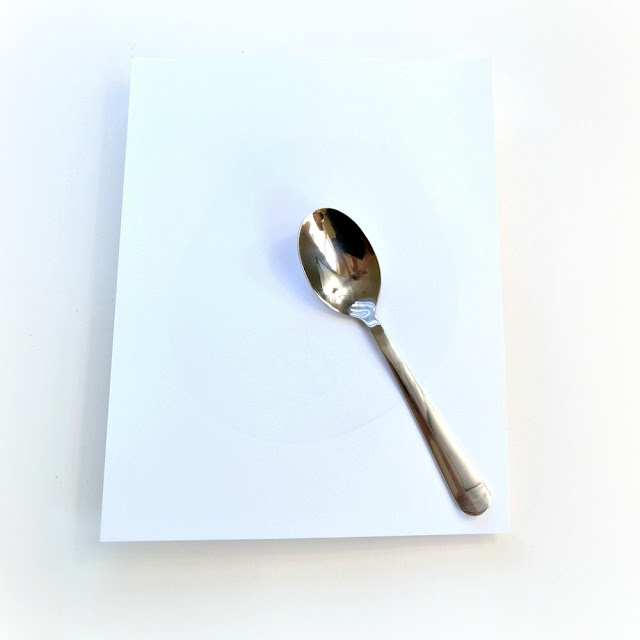
Place a piece of white cardstock over the inked wood slice and burnish with a metal spoon to transfer the ink from the wood to the paper.
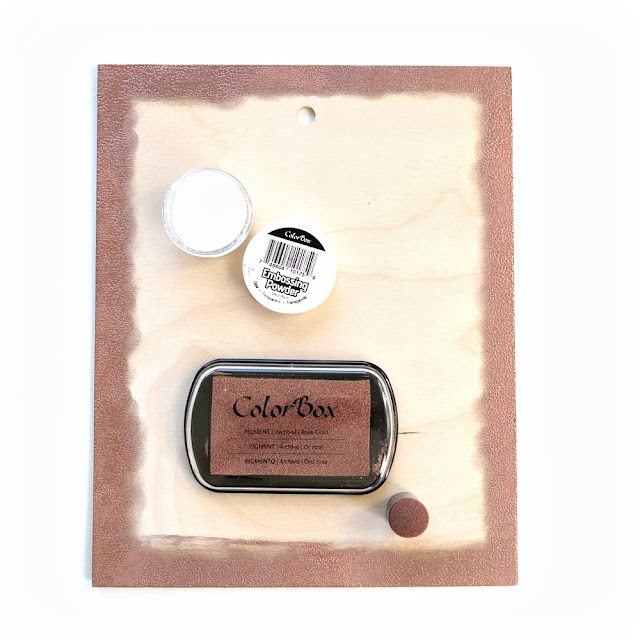
Use an Art Dauber to apply Rose Gold Pigment Ink to the edge of a piece of plywood. Sprinkle with Clear Embossing Powder and heat to set.
Apply 2 4x6 inch Scrapbook Adhesives by 3L Adhesives Sheets to the center of the plywood.
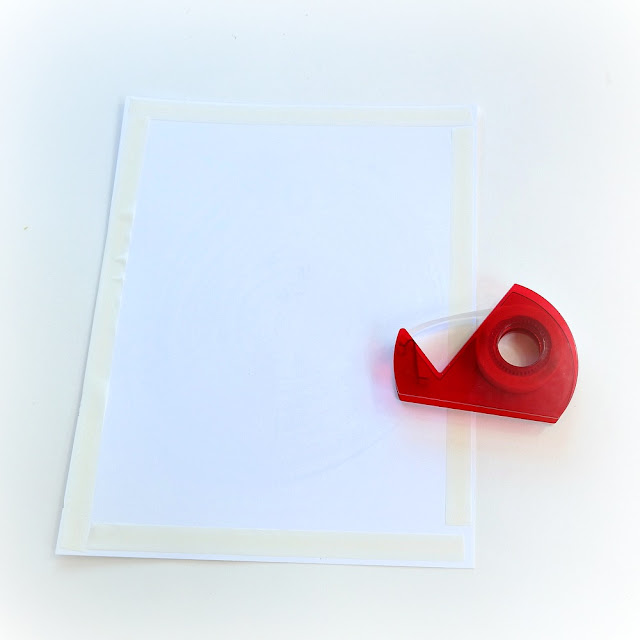
Put Scrapbook Adhesives by 3L Crafty Power Tape along the edges of the cardstock. Peel away the liner and press the wood slice print onto the plywood.
Supplies: ColorBox Premium Licorice Dye Ink by Stephanie Barnard; ColorBox Rose Gold Metallic Pigment Ink; ColorBox ClearEmbossing Powder; Clearsnap Art Dauber; Scrapbook Adhesives by 3L Crafty Power Tape; Scrapbook Adhesives by 3L 4 x 6 inch Adhesive Sheets; Walnut Hollow Birch Round; Walnut Hollow 8 x 10 inch Birch Plywood Project Wood; White Cardstock
Tools: Blowtorch; Sanding Block; Wire Brush; Metal Spoon


This is GENIUS!!! I love it!!!!!!!
ReplyDeleteThanks so much Julie!
DeleteLove this idea. thanks for the walk through. This is something that I am going to have to try for sure. I will give you a link back credit when I find that torch....Hmmm young adult may have taken it somewhere.
ReplyDeleteKeep smiling and creating. Thanks for popping by with kind comments.